Troubleshoot Gmail Spell Check Not Working On Browser & Mail

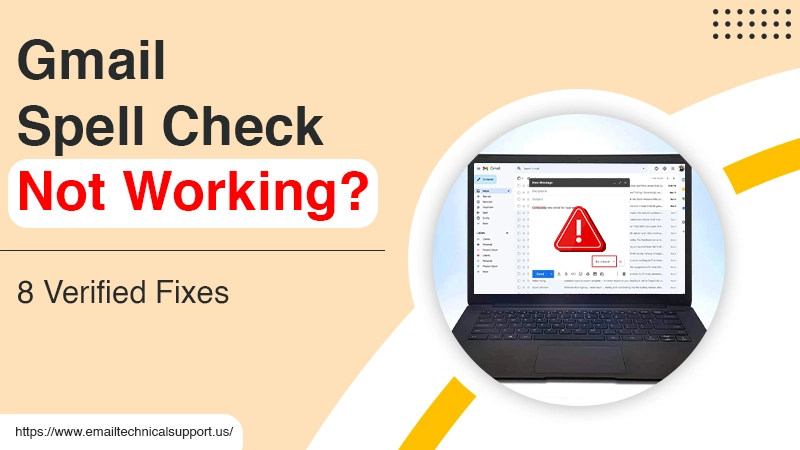
One of the great functionalities of Gmail is spell check. It allows people to compose error-free emails and stay assured that they’ll always be able to send prompt and professional replies to their recipients. That’s why when users find Gmail spell check not working, they feel a bit annoyed. After all, nobody wants to get in embarrassing situations by sending unprofessional emails. If your spell check is not working, it might be because you haven’t enabled it in your browser. It can also be because of a slow internet connection. In this article, we’ll walk you through all the reasons as well as resolutions to this issue.
Also Read, Why: Gmail Not Working
Why Is Gmail Spell Check Not Working
This feature stops working only in rare cases. But when it does, the reasons are probably one of the following.
- You haven’t enabled spell check on Gmail.
- Your internet connection is poor.
- You have disabled the spell check feature in your web browser.
- There is excessive cache in your browser.
- Gmail servers are down.
- You have installed a lot of browser extensions.
Also Check, Why: Gmail SMTP Not Working
Fixes for Spell Check Not Working in Gmail Issue
Unless the spell check is enabled, Gmail won’t check spellings automatically. Here’s all that you can do when this feature stops working. Apart from these measures, you should check if you are using the recent version of your browser. If not, find the latest update and install it.
1. Enable Spell Check in your Browser
You can make Gmail automatically check your spellings when you enable it in the browser you use. Here’s how you can turn on this feature in the Chrome browser.
- Tap the ‘Settings’ button present on the upper-right part of the browser.
- Now, choose this option.
- Go down and tap ‘Show Advanced Settings.’
- Next, scroll down more till you locate the ‘Languages’ section.
- Tap the ‘Language and input settings’ button.
- Now, tick the box beside ‘Enable spell checking.’
- If there are some words, you want to add to the dictionary, tap ‘Custom spelling dictionary.’
- Now you’ll be able to see all the misspelled words underlined in red.
2. Enable Spell Check in Gmail
Gmail offers you the option of ‘Spellings suggestions on.’ You can tick this option whenever you find spell check Gmail not working. This option is present in General settings. Here’s how you can turn it on.
- Login to your Gmail account and hit the ‘Settings’ icon.
- Now, choose the ‘See all settings’ option.
- In the ‘General’ section, locate the ‘Spelling’ option.
- Now, hit the radio button available in front of this option to ‘ON.’
- Go down and hit the ‘Save spelling suggestion on’ button.
3. Fix your Internet Connection
Gmail will not check spellings if your internet connection is slow on the device you are using. It’s because a sluggish connection cannot load different features of Gmail. So, it’s best to inspect the speed of your internet first before thinking that there’s a technical glitch.
Websites like fast.com and speedtest.net will help you to determine your internet speed. If it is below 100 kbps, you must fix it with the aid of your internet service provider.
4. Remove Cache and Cookies
Another simple fix to use on finding Gmail spell check not working is clearing cache and cookies. Here are the easy steps to remove them from your browser.
- First, tap the three dots at the top-right part of your browser screen.
- Now scroll to ‘More Tools’ and opt for ‘Clear browsing data.’
- A window will pop up after you tap it. You can choose a specific timeframe and the type of data you wish to remove.
- Lastly, click ‘Clear Data.’
Also Read, Why: Gmail is out of space
5. Turn-Off Browser Extensions
Browser extensions are also one of the chief reasons that interrupt the working of Gmail spell check. In the presence of these add-ons, the native spell checker of Gmail does not work. Follow these steps to disable browser extensions.
- Open your browser and tap ‘More options.’
- Now, choose ‘Settings.’
- Head over to the ‘Extensions’ tab.
- Now, disable the spell checker and grammar extensions you may have on your browser.
- Lastly, return to Gmail and see if its native spell checker is working properly.
6. Reset Google Chrome Settings
Resetting Google Chrome’s settings to default can also fix a malfunctioning spell check feature. It’s because presently, your settings have been changed by an extension or app. resetting Chrome to default will allow these settings to come back to their earlier version.
- Launch Chrome and navigate to ‘Settings.’
- Go to the bottom and tap ‘Advanced.’
- Now, click ‘Restore settings’ present at the very bottom of the page. This option will restore the settings to the default state.
Also Check, Why: Gmail Not Working in Chrome
7. Use the Incognito Mode Feature
There is the feature of incognito mode in Google Chrome. It protects you from sites that are harmful and is basically for individuals who use one computer. Sometimes, the spell check feature works properly in the incognito mode. To use it in this mode, tap the three dots in the upper-right part. After that, select ‘New incognito window.’
Now, try using the spell check feature. Most probably, you won’t have any issues with using it. After you have checked emails for errors, turn off the incognito mode.
8. Use the CCleaner
CCleaner is a free tool that scans and deletes unwanted files on your system. It erases browsing history and also the files you’ve opened in various programs recently. It also erases cache files for Google Chrome and Firefox.
Not only that, but to optimize space, it will remove unnecessary setup folders that get created by the graphics driver installer. These folders can take up hundreds of megabytes. If you find none of the methods mentioned above working, try downloading and using this tool. It will optimize your entire system and the browser you are using.
Also Read, Why: Gmail Search Not Working
Wrapping Up
Here are all the measures you can follow when you notice Gmail spell check not working. It’s possible that many of them will help you fix the problem. You can then start creating quality and error-free messages for all your email recipients.


